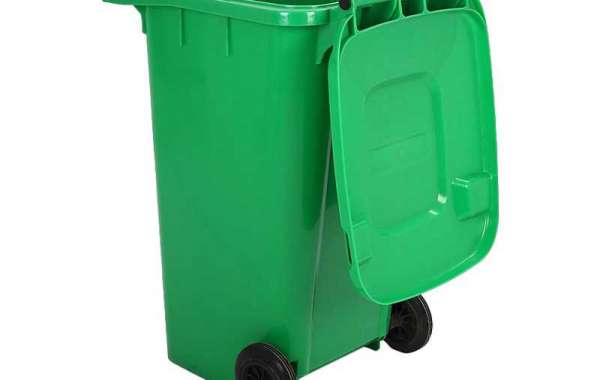
Cleaning trash cans and deodorizing Waste bins are not fun or exciting chores, but they are necessary to keep our families healthier and avoid pinching our noses every time we need to throw something away. Fortunately, cleaning, deodorizing and disinfecting your bins can be accomplished quickly, efficiently and inexpensively by using this step-by-step guide.
Since Waste bins generally only house recyclables, they usually do not get as dirty as trash cans. However, they can get quite sticky from soda or juice and quite smelly if your Waste includes beer cans or bottles. Because these bins are usually only soiled with liquids and, therefore, are easier to clean, we will start with how to clean, deodorize and disinfect Waste bins.
Step 1: Remove Recyclables
The first thing you need to do is empty the bin or trash can you use for recyclables.
Step 2: Spray with Water
The next step is to spray the inside of the bin with water. If you have a pressure washer, this is a good time to bring it out and make this step even easier. If you do not have a pressure washer, you can use a hose with a spray nozzle. This should remove most of the stuck-on liquids on the interior surface.
If you are cleaning your bins on concrete, paving stones or bricks, be particularly careful when using a pressure washer. If the pressure is too high and you accidentally spray one of these hardscapes, you can cause visible damage.
Step 3: Clean the Bin
It is now time to assess the situation and see if simply spraying out the bin was enough or if the inside needs to be scrubbed. If a bit of scrubbing is needed, you have a few of options. First, you will need to decide which cleaning solution you would like to use. You can partially fill the bin with water, and then add a small amount of dish soap or a cup or two of distilled white vinegar (depending on the size of your bin). If you choose one of these options, you can then use a handled brush – like a deck brush – to scrub the inside and outside of the bin. If the bin is particularly dirty, you can also make a paste of baking soda and water to use as a mild abrasive. Rinse well after you are finished scrubbing the bin.
Keep in mind that vinegar is an indiscriminate vegetation killer (which is why it is great for killing weeds). Therefore, if you are using vinegar, be sure that the runoff from rinsing your bins will not reach desirable plants or natural grass.
Step 4: Deodorize and Disinfect the Bin
If you chose the distilled white vinegar option for step three, you can combine these two steps by partially filling the bin with water and a cup of vinegar, spraying the inside of the bin liberally with undiluted white vinegar, and then closing the lid and leaving it alone for at least a couple of hours. You can then scrub the bin with the handled brush and rinse it thoroughly.

If you cleaned the bin with dish soap or baking soda, you can simply spray the inside with undiluted distilled white vinegar, wait a few minutes and rinse with clean water. The distilled white vinegar will both deodorize and disinfect your Waste bin.
Alternatively, you can deodorize and disinfect the bin with a commercial product, such as Lysol.
Step 5: Allow to Dry
Once you have completed the above steps, the only thing left to do is allow the bins to dry before putting them back in use. Keeping the Plastic Waste Bin clean is very important to our health. I hope this article can help you. If you want to know more about the trash, please click on the below link: https://www.pet-food-container.com/product/waste-bin/
